|
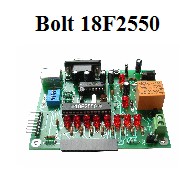
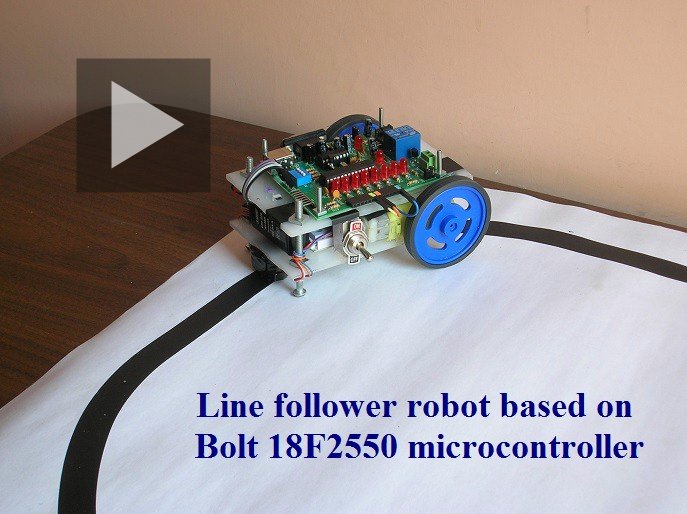
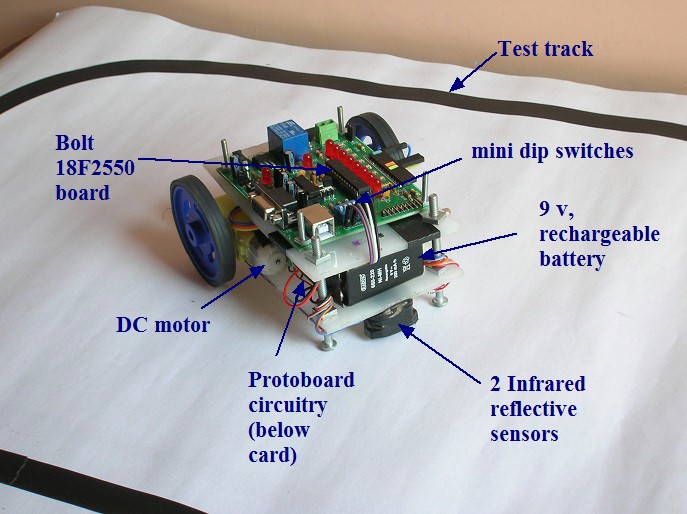
Build a line follower robot with Bolt 18F2550 board. Author: Mario Leguízamo Vega Description: Development of a line follower robot based on the Bolt 18F2550 system. The robot uses two DC motors for the movement of the wheels, controlled by a quadruple L293D H bridge driver with high current capability and a couple of reflective QRD1114 reflective infrared sensors to detect the black tape -which is 1.8 cms thick- on the test track, as seen in the photo. Bolt 18F2550 auxiliary circuitry were wired in a breadboard tablet, which is installed below the Bolt card. This wiring scheme allows the rapid modification of the circuitry for testing. The connections between the card and the microcontroller breadboard system are wired through the LCD and auxiliary ports in Bolt card. Using the mini dip switches (SW1..SW4) of Bolt 18F2550 card, different options are programmed for robot motion. Only option 3 should be conducted by placing the robot on the test track. The rest of options can work on any flat surface:
To power the robot, including the Bolt card, motors and other circuitry, a single rechargeable 9-volt battery is used. The 18F2550 microcontroller was programmed in ANSI C using a simple algorithm to track the black tape. The entire MPLAB IDE project is included here, with source and hex files.
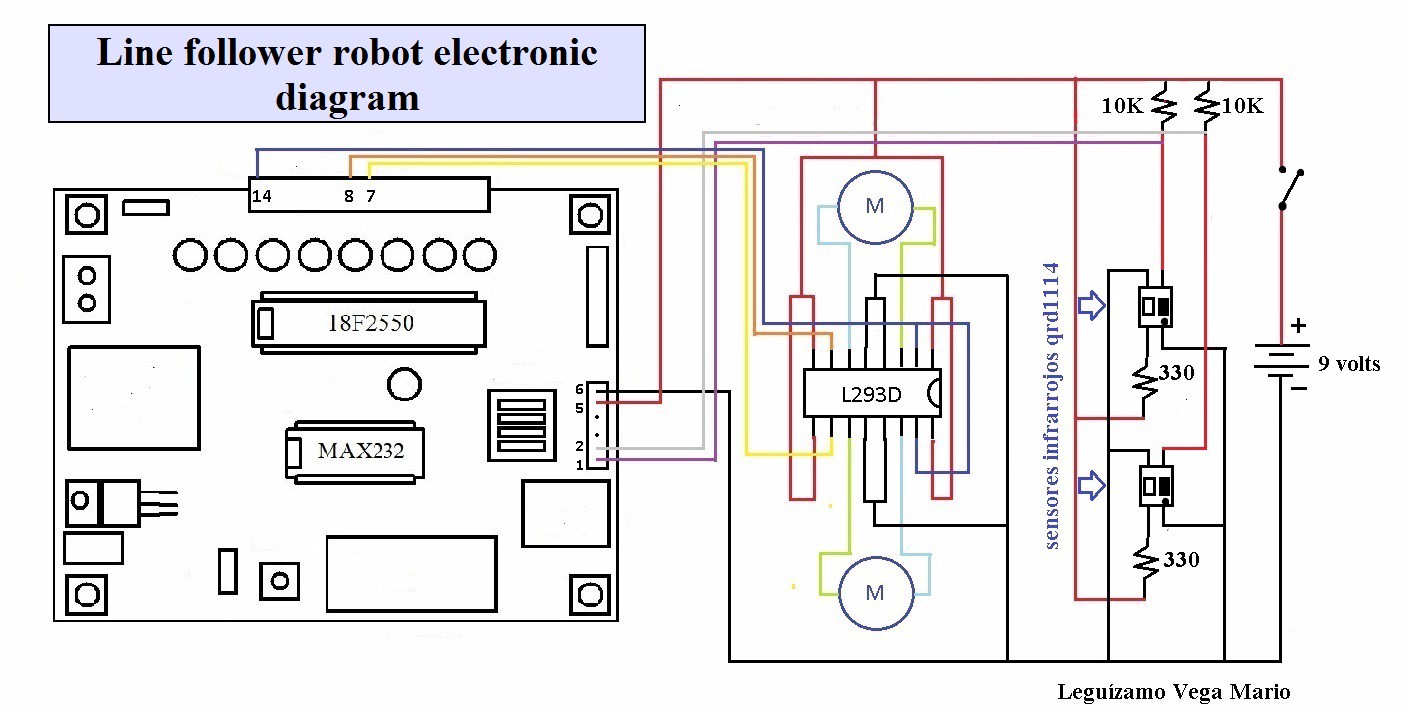
Electronic diagram of line follower robot (click to enlarge):
The components and devices of the robot can be identified in this photo:
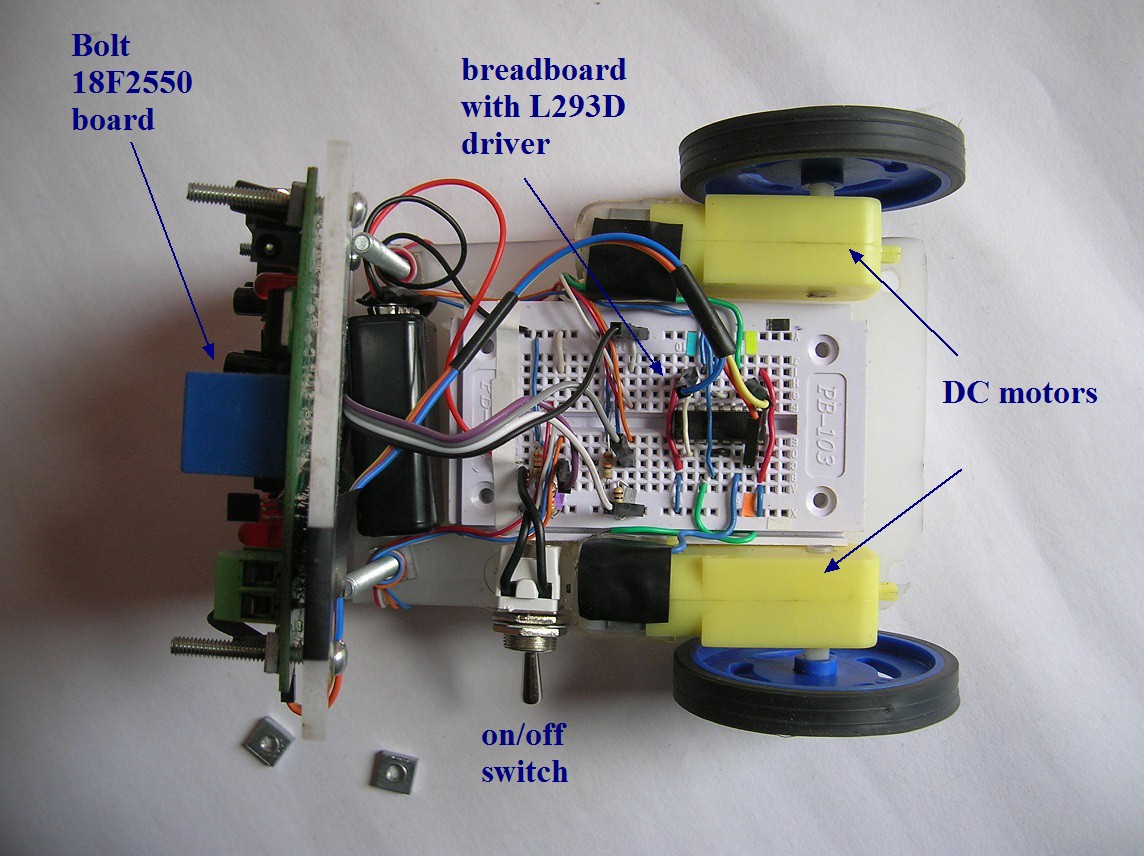
Lower layer view of robot, with breadboard and circuitry of L293D driver:
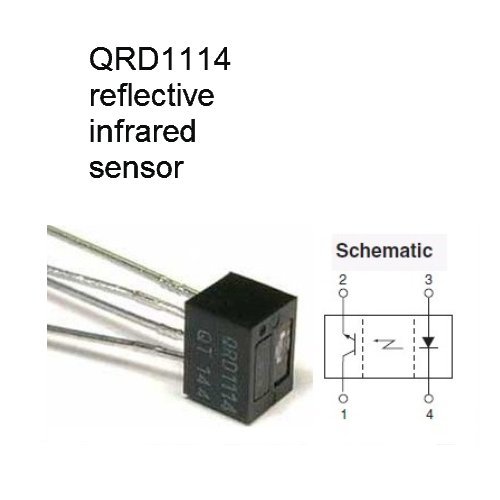
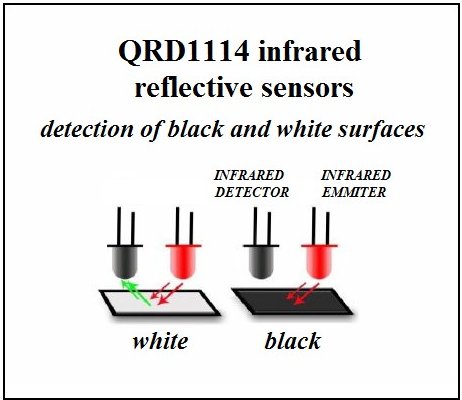
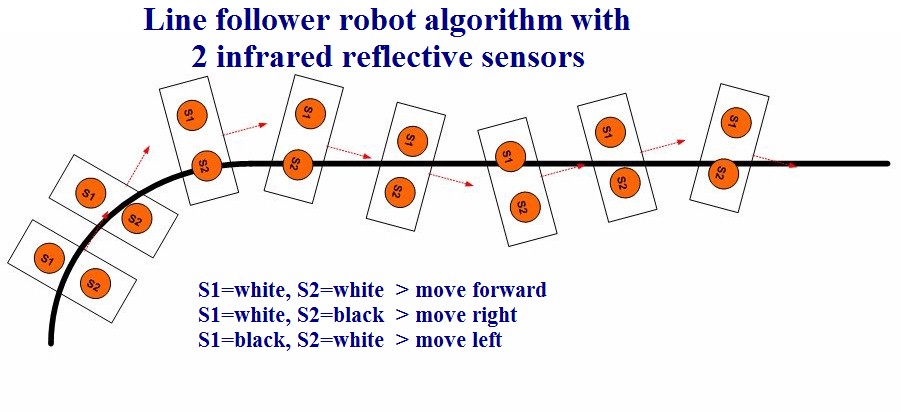
The 2 QRD1114 reflective infrared sensors detect either a white or a black surface below the detectors, and send signals to the microcontroller, which then activates, either the right, the left or both motors, accordingly. Pin 1 in diagram corresponds with the mark in sensor.
To follow the black line, which is 1.8 cms thick, the microcontroller is programmed with a very simple algorithm, depending on the detection of a white or black surface in each sensor:
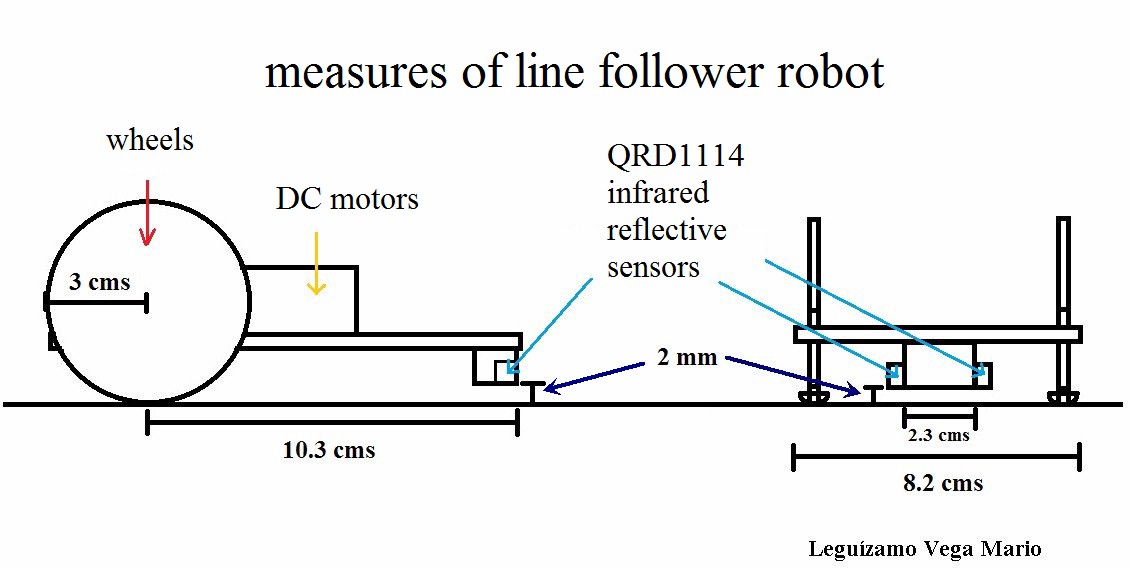
These are the measures of robot. Most important is distance from the 2 infrarred detectors to the surface:
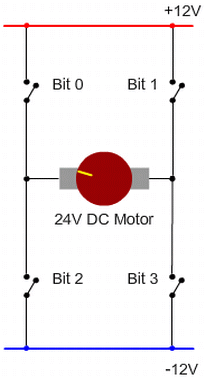
The principle of functioning of the H Bridge to control the direction of rotation of a motor is shown here:
|

